Thursday, January 31, 2013

Soft and moist Coffee Cake

This is the cake which I made last week for my wedding anniversary. As I was little busy with the visit of my in- laws and going here and there, I couldn’t post the cake recipe.

Coffee cakes are of two types, the one which can be eaten with coffee or the one which has a strong coffee flavor.


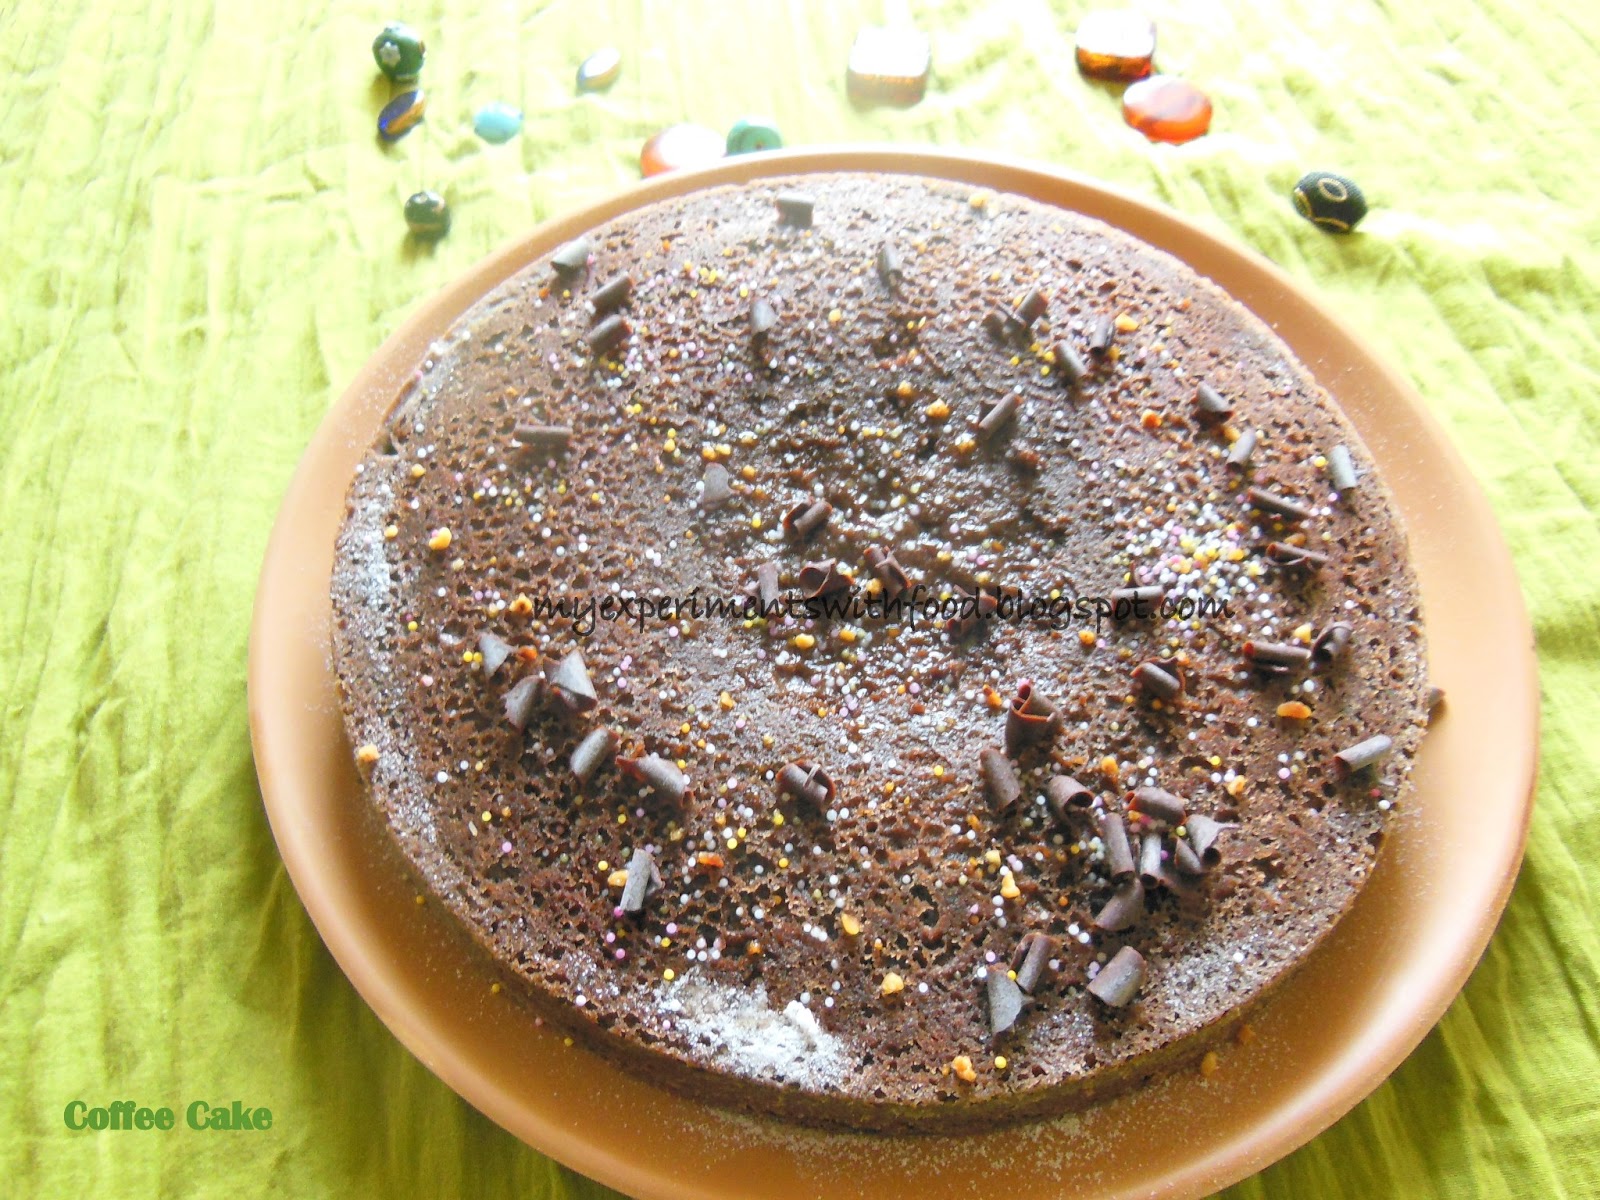
I wanted to try something different and to bake the cake which I never did before. So keeping in mind my in -laws and husband’s tastes, I ended up baking a coffee flavored cake as all of them are fond of coffee. I found this cake recipe in ria’s collections. It is named as mahogany cake. But as the coffee flavour is too much I named it Coffee Cake. This delicious coffee cake is great for all occasions.


Usually coffee cakes have a delicious crumb topping of the nuts. But as it has a rich and buttery flavor I dont want to add any more calories to this. That is why I didn’t decorate the cake with whipping cream. This cake is so soft and moist that when you sprinkle the coffee syrup it will get absorbed quickly. The brown colour of my cake is due to addition of cocoa powder. If you want you can reduce or even avoid the cocoa powder.

Ingredients:

  1. Maida / All purpose flour- 1 ⅓Cups
  2. Baking soda- ¼ tsp
  3. Boiling water- ½ cup
  4. Coffee powder- 2 tsp
  5. Cocoa powder- 2 tbsp
  6. Sugar- ¾ cup
  7. Eggs- 2 nos
  8. Salt- a pinch
  9. Vinegar- ½ tsp
  10. Vanilla extract- 1tsp
  11. Butter- 150 gms
Soaking Syrup:
  1. Coffee powder- 2tsp
  2. Boiled water- ¼ cup
  3. Sugar- 1 tbsp
Method:
  1. Preheat the oven to 180 degrees C.
  2. Dissolve coffee in boiled water. Add cocoa powder and mix and keep it aside.
  3. Cream the butter and sugar till creamy and in this add the eggs and beat well till fluffy.
  4. Add vinegar and vanilla extract. Add the flour, baking soda and salt alternately along with coffee- cocoa mixture.
  5. After mixing pour this batter in the prepared greased tin and bake for about 30- 40 minutes or a toothpick inserted comes out clean.
For the soaking syrup
  • Mix the sugar and coffee powder in the boiled water and keep it aside to cool.
  • After the cake is baked pour the coffee syrup (just about 3- 4 tbsps) on the warm cake little by little.
  • Decorate as you wish and cut this soft and moist cake into slices.


Saturday, January 19, 2013

Cornflake Cookies

Corn flakes is something that I love a lot from my childhood days. This is my all time favorite breakfast dish. As always I will be having cornflakes at home I thought of making something interesting and delicious with this for my kid. Nowadays, corn flakes has become a daily must-have for her too.


I googled and found this recipe which is very simple from Spicy chilly. I am really obsessed with baking, that as soon as I saw this recipe I had to make this.
One day my husband was telling me that I don’t need any occasion to bake. Just one min I will be sitting idle the next minute I will be baking some thing. Before marriage I was not at all interested in cooking. I used to help my mom in the kitchen, but I never tried my hand in any of the dishes. I don't know when this passion for cooking got into me..:) 


I think among the cookies, this is one of the simplest and can be tried quickly when some guests are about to visit you. You can even make the cookie dough ahead of time and bake it when needed.


Ingredients:

  1. Cornflakes (crushed and crumbled)- 1 Cup
  2. All purpose flour / Maida- 1 ½ Cups
  3. Sugar- ¾ Cup
  4. Butter- 1 Cup
  5. Vanilla essence- 1tsp
  6. Baking Powder- 1 tsp
Method:
  1. Preheat the oven to 170 degrees C.
  2. Cream the butter and sugar till it becomes soft and pale.
  3. Add the flour, vanilla essence and baking powder and mix well. In this add the crushed cornflakes and mix.
  4. Grease the baking tray with butter and take a small ball of cookie batter and press it in your palm and keep this on the tray.
  5. Repeat the process till all the batter is finished.
  6. Bake the cookies for about 15- 20 minutes or till it turns light brown in colour. Enjoy these super yummy cookies along with a glass of milk or with a cup of tea.


Tuesday, January 15, 2013

Black eyed peas Kheer/Vanpayar Payasam

Yesterday was Daddy’s (F-I-L’s) birthday and mummy (M-I-L)made this as this is made every year on his birthday. This is the first time Daddy is celebrating his birthday here with us and so I am eating this vanpayar payasam for the first time. It is really yummy. This is also called as sharkara kanji.


This is a traditional preparation of Kerala. It is a mix of rice, black eyed peas and jaggery. To increase the taste, a dollop of clarified butter is added. This can be consumed chilled or hot. There are so many different varieties and bases of payasams in Kerala. Trust me this will be loved by all.


Daddy’s birthday started off with a bouquet of red roses, a cake cutting, a small gift from us and it ended with a sumptuous dinner...
Ingredients

  1. Black eyed peas / Vanpayar- ¾ Cup
  2. Raw Rice- ¾ Cup
  3. Jaggery- 250 gms (grated and melted) / adjust the taste accordingly
  4. Coconut- ½ coconut (grated)
  5. Dried ginger- 1 tbsp
  6. Cumin seeds- 1tsp
Method:
  1. Roast the peas in a skillet till the raw smell disappears and cook this along with rice in a pressure cooker till soft.
  2. Roast the dry ginger and cumin seeds and grind it to a fine powder and keep this aside.
  3. Strain the melted jaggery in a vessel and keep this on low flame on stove and add the cooked peas and rice and mix well.
  4. Add the roasted and ground spice powders and mix till everything is well blended. At last add the grated coconut and mix well.
  5. Enjoy this hot or cold.

Wednesday, January 9, 2013

Pesarattu / Moong dal dosa- an easy breakfast..

Pesarattu is a common breakfast item in Andhra households. This is very easy to prepare and very nutritious and healthy as the main ingredient we are using to make this dosa is yellow moong dal.


This can be made with green gram dal also but since my mom prepares this using yellow moong dal I love this that way. In most of the places, the traditional way of serving this pesarattu is with upma and it is called as pesarattu upma. In this, the moong dal and rice is grinded well and prepared into healthy and yummy dosas. This goes well with coconut chutney with ginger flavor. I like this a lot because this is very easy and simple to prepare without the need of fermenting.


Ingredients:

  1. Moong dal / Cherupayar / Pesarapappu- 1 Cup
  2. Rice- ½ Cup
  3. Water- as required
  4. Salt- as needed
  5. For topping:
  6. Onion (chopped)-2nos
  7. Green chillies- 2 nos
  8. Cumin seeds- 1tsp
  9. Salt- as required
Method:
  1. Soak moong dal and rice in required amount of water overnight or for 5 - 6 hours and then grind it to a fine paste.
  2. Add salt and mix well. Meanwhile chop the onions, green chillies and add the cumin seeds and salt and keep this aside.
  3. Note: As soon as you grind the batter you can use it. No need of fermenting.
  4. Heat a tava and pour a ladle in the center and spread it in a circle from the center to the outside of the tawa.
  5. Drizzle little oil on top. Sprinkle the chopped and mixed filling on top of the dosa and press it lightly with the spoon.
  6. After it is done on one side flip it over and cook till done.
  7. Serve hot with red chilli pickle / Ginger pickle / coconut chutney.


Wednesday, January 2, 2013

Happy new year....

Wishing all my readers a very Happy New Year …

In the dawn of this new year, I would like to go back to some of my some of my hit recipes of last year. I cannot differentiate between my recipes as all are dear to me and all the recipes are made with much time and effort. These are some of the recipes which were liked the most across my family, friends and other blog readers.

In January 2012
Tiramisu- Heaven on your tastebuds
This was the cake which from long time I was planning to make and at last it happened. This turned out to be delicious and a hit among the family.
http://myexperimentswithfood.blogspot.in/2012/01/tiramisu-heaven-on-your-taste-buds.html

In February 2012
Basbousa- An Arabian delight
I saw this in a cookery show and tried this and it came out perfect. I liked the name of the dish a lot.
http://myexperimentswithfood.blogspot.in/2012/02/basbousa-arabian-dessert.html

In March 2012
Strawberry Ice cream
I made this without adding any colours and the ice cream has turned out to natural pink colour and it tasted the same as we get in the shop.
http://myexperimentswithfood.blogspot.in/2012/03/strawberry-ice-cream.html

In April 2012
Prawns biryani in pressure cooker- Spicy yet tasty
Usually I make this in the dum method, but here I tried making this in pressure cooker and was perfect.
http://myexperimentswithfood.blogspot.in/2012/04/prawns-biryani-made-in-pressure-cooker.html

In May 2012
Mango Cheesecake
This I made on my cutie pie’s birthday and was loved by all.
http://myexperimentswithfood.blogspot.in/2012/05/mango-cheesecake-for-birthday.html

In June 2012
Stuffed Chicken Masala Bun
As I saw this in Raks kitchen blog, I made it as I had some leftover chicken in fridge. This was a mouth watering snack that can be had at any time.
http://myexperimentswithfood.blogspot.in/2012/06/stuffed-chicken-masala-bun.html

In July 2012
Vanilla Cupcakes with Dora frosting
I got some dora wafers with which I decorated the cupcakes and my kid and her friends ate without leaving any.
http://myexperimentswithfood.blogspot.in/2012/07/vanilla-cupcakes-with-dora-frosting-and.html

In August 2012
Chicken Stuffed Rotis / Erachi Pathiri
I made these for iftar and it was a perfect tea time snack. Now I make these regularly.
http://myexperimentswithfood.blogspot.in/2012/08/erachi-pathiri-chicken-stuffed-rotis.html

In September 2012
Inji Puli / Ginger and tamarind Mix
I made this for the first time on the occasion of onam. A perfect side dish with a sadhya.
http://myexperimentswithfood.blogspot.in/2012/09/inji-puli-ginger-tamarind-mix.html

In October 2012
No bake lemon pie
This is one of the easiest dessert which can be made within minutes and will be a hit.
http://myexperimentswithfood.blogspot.in/2012/10/no-bake-lemon-pie.html

In November 2012
Badam Burfi and Chocolate Burfi
My blog’s 2nd anniversary and I was really happy that my blog crossed the 2nd milestone, so to celebrate it I made these sweets.
http://myexperimentswithfood.blogspot.in/2012/11/badam-burfi-chocolate-burfi-chocolate.html

In December 2012
Banana Loaf Cake
Year 2012’s last post and a very delicious loaf cake.
http://myexperimentswithfood.blogspot.in/2012/12/banana-loaf-cake.html


That was a recap of 2012 for you... :-) Thanks for all the support and encouragement showered on my blog posts. Keep visiting my little blog. This year I plan to treat my blog readers with more different varieties of recipes.

Once again wishing all a very Happy New Year 2013 !!!
Related Posts Plugin for WordPress, Blogger...