Friday, December 23, 2011

Joan’s Rainbow Cake - Colors of joy this Christmas season

This Christmas season I wanted to bake a cake and I was looking for various recipes. It was sheer coincidence that we happened to see this Malayalam movie called Salt n’ Pepper (superb movie especially for all you foodies out there). This movie has a sequence where the lead pair talks over the phone about a cake recipe which was made by a housewife in France while she was waiting for her soldier husband to come back from the war. Each day, she baked one cake thinking that her husband would return home and this continued for 3 days, when finally her husband came back home and she completed the cake with three layers of different flavors and chocolate topping.


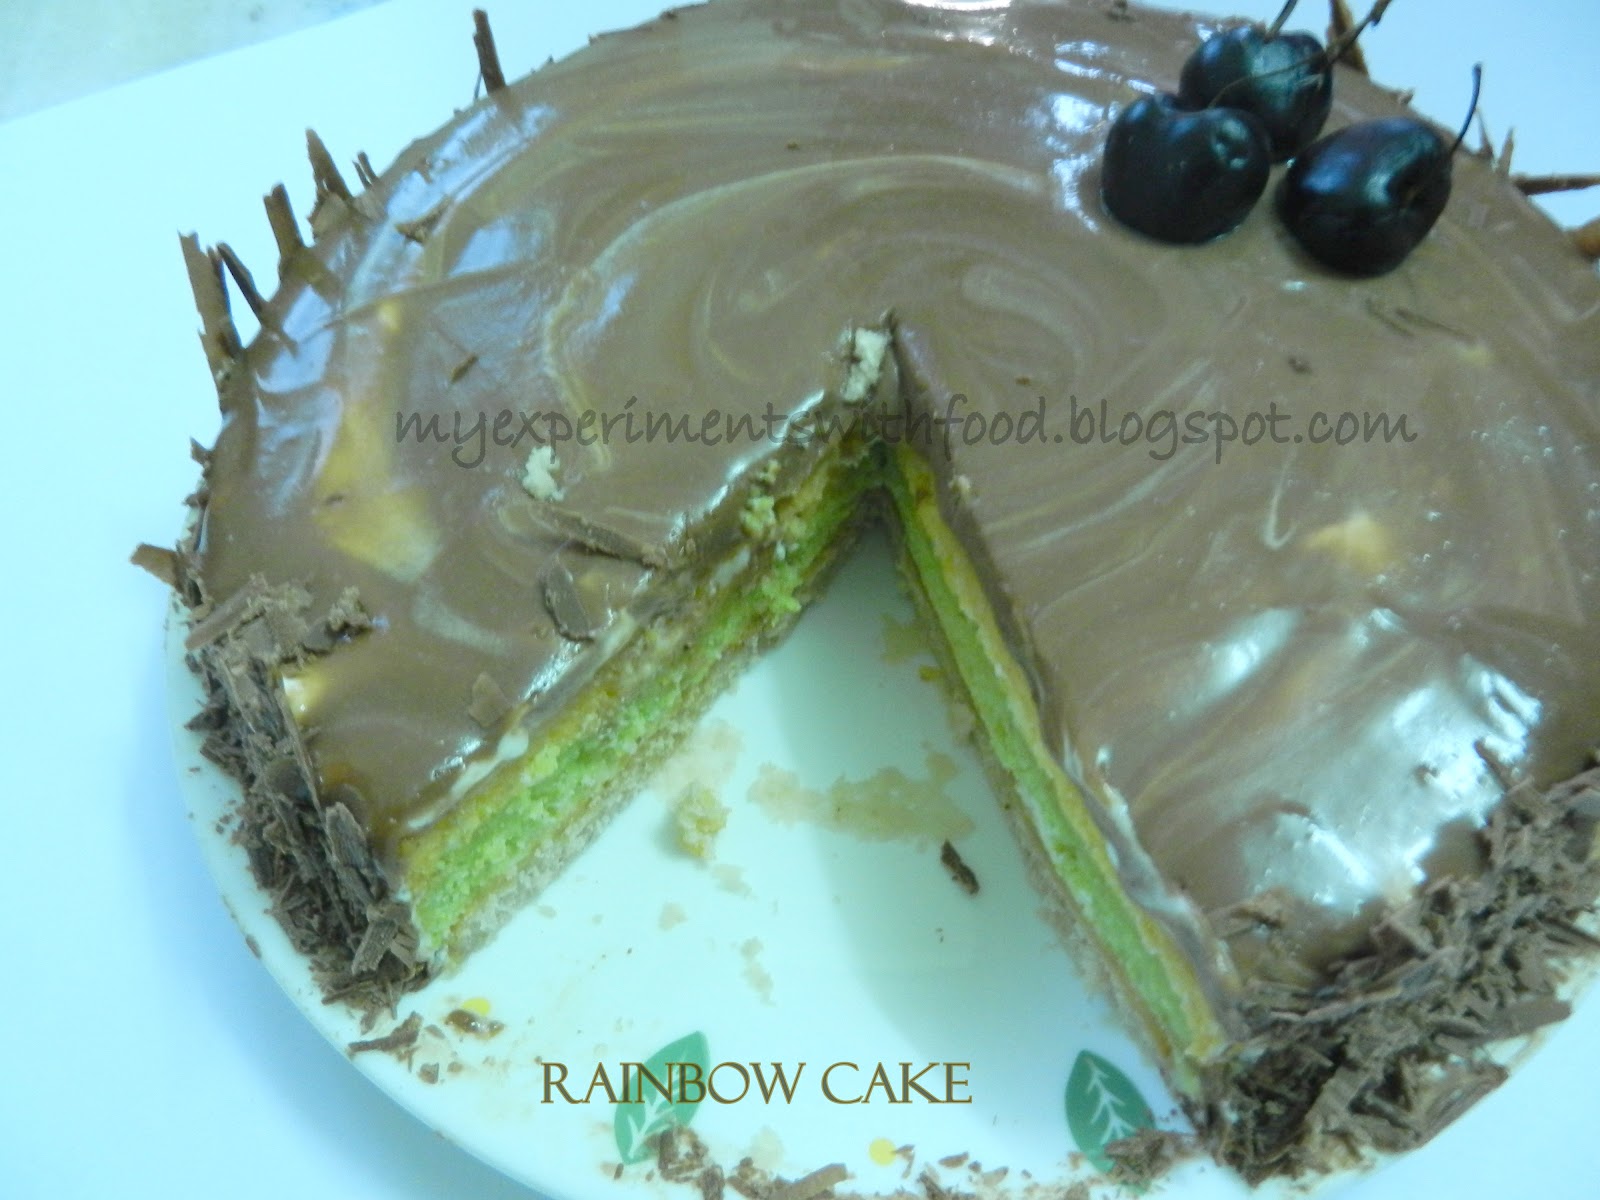
In the movie, they have named this cake as Joan’s rainbow cake. Though it says rainbow cake, it only has 3 layers and not seven :-) I wanted to use the same original name as they depict in the movie since it sounds quite unique and passionate.


This story sounds apparently fictional. We couldn’t find anything in the web which indicates otherwise. So this must be the creative imagination of the story writer. But anyways, the cake they made out of this sequence is quite interesting. Each layer individually is quite simple, but the whole recipe obviously takes more time and effort than a regular cake.


This whole excitement culminated in a cake which I believe came out quite well with all the intended flavors.


This is undoubtedly the most exciting recipe I have ever posted in my blog. Here you go ...
First Layer:
Strawberry Cake:
Ingredients:
For Puree

  1. Strawberrys- ¼ cup
  2. Sugar- 2tbsp (optional)
  3. For the cake
  4. All purpose flour / Maida- 1cup
  5. Baking Powder- 1tsp
  6. salt- a pinch
  7. Milk- ¼ cup
  8. Sugar- ½ cup
  9. Butter- ¼ cup
  10. Egg- 1no
  11. Strawberry essence- 1tsp
Method:
  1. Preheat the oven to 180 degrees C.
  2. Puree the strawberry and sugar in a hand mixie to a smooth pouring consistency.
  3. Cream butter and sugar, till creamy. In this add egg and stir well till fluffy.
  4. Sift flour, baking powder and salt and add this to the egg and butter mixture in 3 lots alternately along with milk.
  5. Add the strawberry essence and puree and beat well till everything is mixed well.
  6. Pour this batter in a greased baking pan and bake for 30- 40 min or till a skewer inserted in the cake comes out clean.
  7. Cool this on a wire rack.


Note:
  • Before pureeing the strawberrys check for sweetness and then add sugar.
Second Layer:
Pista Cake:
Ingredients:

  1. Pista- 1cup
  2. Milk- ¼ cup
  3. All purpose flour / Maida- 1cup
  4. Baking Powder- 1tsp
  5. salt- a pinch
  6. Butter- ¼ cup
  7. Sugar- ½ cup
  8. Egg- 1no
  9. Pista Essence- 1tsp
  10. Green Colour- ½ a pinch
Method:
  1. Soak the pista in water for 4hours and grind them to a fine paste in a hand mixer along with milk.
  2. Cream butter, sugar and eggs and also add the above made pista paste to a fluffy texture and keep it aside.
  3. Sift together Flour, baking powder and salt. Add this to the above wet ingredients ad blend well. In this add the pista essence and green food colour. Mix well.
  4. Mean while preheat the oven to 180 degrees C. Pour the prepared cake batter in a greased cake tin and bake in the oven for 30- 40 min or till done.
  5. Cool this on a wire rack and keep it aside.

Third Layer:

Orange Cake:
Ingredients:
  1. Orange Juice- ¼ cup
  2. Orange Rind- 1tsp
  3. All Purpose Flour / Maida- 1cup
  4. Sugar- ½ cup
  5. Butter- ¼ cup
  6. Egg- 1no
  7. Milk- ¼ cup
  8. Baking Powder- 1tsp
  9. Salt- ½ tsp
Method:
  1. Mix flour, salt and baking powder in a bowl.
  2. Cream the butter, sugar and egg till fluffy and creamy.
  3. In this, add the above dry ingredients and milk alternatively in 3 lots.
  4. Add the orange juice and rind. Mix well.
  5. Preheat the oven to 180 degrees C. Pour the cake batter in the prepared greased cake pan and bake for about 30- 40 min.
  6. Cool them on a wire rack.

Soaking Syrup:
  • Sugar- ½ cup
  • Water-1/2 cup
Method:
  • Boil the sugar and water for 2 min or till the sugar dissolves well.
Other Ingredients:
  1. Whipping Cream- 2cups (I have used amul cream packet and ¾ cup of castor sugar. Blend it well with a hand mixer for about 15- 20 minutes. Before blending, we must take care that the amul cream packet are refrigerated.)
  2. Chocolate Ganache- 1cup
For Chocolate Swirls and curls:
  1. Melt the chocolate in a double boiler. Make sure the water doesn’t touch the  bowl containing chocolate.
  2. Spread this evenly on a plain surface with the help of a knife.
  3. When this is cooled lightly, with a sharp knife in a short sawing movements make curls.Keep this in fridge until ready to use.
For Assembling the Cake:
  • On a plate or a cake stand place the first layer i.e the strawberry cake and soak it with 3- 4tbsps of syrup.
  • Over this and on the sides, spread the whipping cream. Place the next layer i.e the pista cake and soak it with the syrup and spread the whipping cream over this.
  • Over this keep the last layer, orange cake and soak it with syrup. Spread the whipping cream well on the sides and over the cake.
  • Keep the cake in the refrigerator till we prepare the ganache and let it cool completely.
  • Take out the cake from refrigerator and pour this ganache over the cake. Decorate with chocolate swirls or as you wish.


Note:

  • The whole process looks tiring, but it is fun to make this and I am sure that this will be perfect for parties and will be loved by all.

Tuesday, December 20, 2011

Garlic Pull apart Rolls


I have seen these rolls in so many blogs and simply fell in love with the shape they take after baking. So I thought of trying this one day. My daughter liked this so much, that I made this thrice and every time she was enjoying till the last bite :)


With the onset of winter, we all like to have something hot and fresh and this one turns out to be a perfect evening snack. While these are baking in the oven, the house is filled with the aroma of garlic and bread and they are irresistible.

This one is quite a tempting recipe, that I like to make them again and again. I used all the dried herbs which I had in my pantry for the spread and they tasted awesome and was a treat for 4 out of my 5 senses, sight, smell, feel and taste :-)

So here is the recipe of delicious and tasty rolls.


Ingredients:
Recipe adapted from Nags


  1. All purpose flour- 1 ½ cups
  2. Yeast ½ tbsp
  3. Warm water- ½ cup
  4. Salt- a pinch
  5. Sugar- 1tbsp
  6. Olive Oil- 1tbsp
For Garlic spread
  1. Butter- 6tbsp
  2. Salt- as required
  3. Garlic (crushed and Chopped)- 3tbsp
  4. Dried herb (Thyme and Dill)- 1tbsp
  5. Coriander Leaves (Chopped)- 2tbsp
Spreading the garlic paste and rolling from one end

Method:
  1. Make the garlic spread by mixing all the required ingredients for the spread and keep it aside.
  2. Take 1 tbsp of warm water in a bowl and add the yeast (I used dry yeast). Let it rest for some 5 minutes and mix well.
  3. Mix flour, salt, sugar,olive oil and dissolved yeast together in a bowl till it forms a sticky dough.
  4. Add oil to finger tips and knead well. Wrap it in a cling film or a damp cloth till it doubles in size. I kept it for 1hour.
  5. Meanwhile grease the baking pan in which you are going to bake the rolls.
  6. After resting for 1 hour knock down the air in the dough by kneading well and divide the dough into two equal portions.
  7. Spread one portion of the divided dough on a floured surface in the shape of circle. Apply more flour if the dough is sticky.
  8. Spread half of the garlic spread with the help of a spoon. Roll from one end firmly and cut into 4 or 5 equal parts.
  9. Place the rolls with the cut side up in the greased pans.
  10. Repeat the same procedure for the remaining dough and place them in the greased pan.
  11. Apply the remaining garlic spread and little milk on top of the rolls.
  12. Let it sit for another 20 minutes, meanwhile pre heat the oven to 180 degrees C.
  13. Bake for about 30 minutes or until the top is golden brown. Meanwhile the house will be filled with the aroma of garlic bread.
  14. These will be soft and moist and serve hot.


Note:
  • We must be careful while adding warm water. It depends upon the quality of the dough. Sometimes we require more water and sometimes less.
  • While rolling, we must take care that it should be very firm otherwise it will loosen up while baking. Mine was like that.

Monday, December 12, 2011

Chocolate chip Melting Moments


This is one of the famous cookie recipes loved by all in my family. I make this often and stock it.  I love to do the traditional cookie dip in steaming tea.


I think, I have been bitten by the baking bug as these days I am continuously baking some new dishes..:) It has become a habit that after coming from office, my Husband asks for any baked goodies. I am learning so many new recipes from all the books, diaries, so many websites, help from my Mom and so on..


These simple, yet delicious cookies got its name since they literally melt in the mouth and are heavenly. The wonderful aroma of these cookies while baking it in the oven fills the house that we cannot resist emptying the whole bunch of cookies. I am not worried about the oodles of weight that we are gaining after eating these butter cookies. I usually think once in a while its ok, but it ends up to be way too often :-)

These are also known as cornstarch cookies. I have added chocolate chips, as I love to bite into the gooey chocolaty chips.


Ingredients:
  1. All purpose flour / Maida- ½ cup
  2. Corn Flour- ¼ cup
  3. Chocolate Chips- ¼ cup
  4. Butter- ¼ cup
  5. Powdered Sugar- ¼ cup
Method:
  1. Preheat the oven to 190 degrees C.
  2. Take butter and sugar in a bowl and beat well till fluffy and creamy.
  3. Add all purpose flour, corn flour and chocolate chips in the above butter mixture and mix well.
  4. Keep aside for some time and make small balls out of the dough and flatten them and place them on the prepared baking pan.
  5. Bake for about 20- 25 minutes or till it turns little brown on the edges. Remove from oven and cool them on wire rack and store them in air tight containers.


Tuesday, December 6, 2011

Chocolate Mousse- A sweet temptation..


Christmas is around the corner and everybody is busy baking cakes and goodies to the near and dear ones. I thought of making this easy dessert which I was longing to make. This is a perfect dessert for chocolate lovers and is a very simple dessert that you can make in advance and keep chilled.


We can have this dessert just like that or with any ice cream. We can also make chocolate mousse cakes out of these. But this is the basic chocolate mousse recipe. In this recipe, instead of using gelatin, we can also use eggs or agar agar (china grass). But as I have posted in my earlier posts I don’t like too much of eggy smell in my desserts. So I used gelatin. It is said that, mousse is derived from a french word, which means “lather” or “foam”. The texture of this mousse is creamy, thick and very chocolaty which is loved and preferred by kids and elders alike.


Now this has become a must have dessert in my family. You can also add almonds or any preferred nuts for some nutty flavour in the mousse or serve with any fresh fruits like strawberries, kiwis and so on.
Ingredients:
  1. Cocoa powder- ¼ cup
  2. Sugar- ½ cup
  3. Gelatin- 1tsp
  4. Cold water- 1tbsp
  5. Hot boiling water- 2tbsp
  6. Vanilla Essence- 1tsp
  7. Whipping Cream- 1cup
Method:
  1. Sprinkle gelatin over cold water let it rest for 1minute. In this add the boiling water and stir well till the gelatin gets dissolved. Keep it aside.
  2. Take whipping cream in a bowl along with cocoa powder, sugar and vanilla essence. Mix well till everything blends well.
  3. In this add gelatin mixture and beat well.
  4. Transfer the mousse into desired bowls and chill it overnight to set. Decorate as deserved and serve this along with vanilla ice cream, or you can enjoy this as it is.


Sending this to Christmas Delicacy and to Winter Carnival events.


Tuesday, November 29, 2011

Rasam - Simplicity at its best..

Rasam is the staple side dish in south Indian cuisine and is a must in every household. There are many different varieties of rasam like adding dal, lemon, and so on. This is served as a appetizer or with hot white rice.


My dad drinks one hot cup of rasam when ever it is made and so I am. Now my daughter does that. I usually make a not- so- spicy rasam for her and she enjoys it.
This is my MIL’s version of Rasam. It tasted so good even without adding any rasam powder. She keeps the ready made spice powder in a bottle and when ever required she makes rasam out of it :-)


Ingredients:
  1. Tomatoes (chopped)- 2nos
  2. Garlic cloves- 6-7nos
  3. Shallots- 5nos
  4. whole pepper- 1tbsp
  5. Cumin seeds- 1tsp
  6. Coriander seeds- 1tsp
  7. Red chilli- 1no
  8. Tamarind juice- ½ cup
  9. Mustard seeds- 1tsp
  10. Fenugreek seeds- 1tsp
  11. Curry leaves- few
  12. Oil- 1tbsp
  13. Coriander leaves (chopped)- 2tbsp
  14. Salt- as per taste
  15. Asafoetida- a pinch
Method:
  1. Crush the garlic and shallots and keep it aside.
  2. Powder the whole pepper, cumin seeds, coriander seeds in a mortar and keep it aside.
  3. In a heavy bottom pan heat oil and splutter mustard seeds, fenugreek seeds, curry leaves and red chilli.
  4. In the above add crushed garlic, shallots and salt, stir till the raw smell disappears. In this add the powdered spices and mix well.
  5. Add the chopped tomatoes, coriander leaves along with tamarind juice and let it boil till the tomatoes become soft. At last add asafoetida.
  6. Add required amount of water and let it boil for 5 to 10 minutes.
  7. Serve hot with steamed rice, pappad and pickle.

Wednesday, November 23, 2011

Potato and Egg salad- Light and Creamy


There are wide varieties of salads, including vegetable salad,with pasta, eggs and so on.


We have seen lot many potato and egg salads along with mayonnaise which is very famous, but in this salad yogurt along with cream is added which is quite easy to make.


I got this recipe from a magazine. I made a few changes to the original recipe with the ingredients I have. The flavours of minced garlic and dried rosemary will awaken your senses. This salad is very light and creamy and goes well with anything grilled.


Ingredients:
  1. Potato ( boiled and cubed)- 2nos
  2. Egg (hardboiled)- 1no
  3. Sweet Corn (boiled)- ½ cup
  4. Yogurt- ½ cup
  5. salt- as per taste
  6. pepper powder- 1tsp
  7. Cream- 100ml
  8. Garlic cloves (minced)- 2nos
  9. Dried Rosemary- 2tsp
Method:
  1. Place the eggs, potatoes and corn in a bowl and toss lightly with salt and pepper powder.
  2. In another bowl mix the yogurt, cream and garlic cloves stir until well mixed.
  3. Add this dressing  over the potatoes and eggs and mix well. Sprinkle with dried rosemary and serve.

Related Posts Plugin for WordPress, Blogger...